DRO-375 PCB Construction
Step 7. Smoke Test
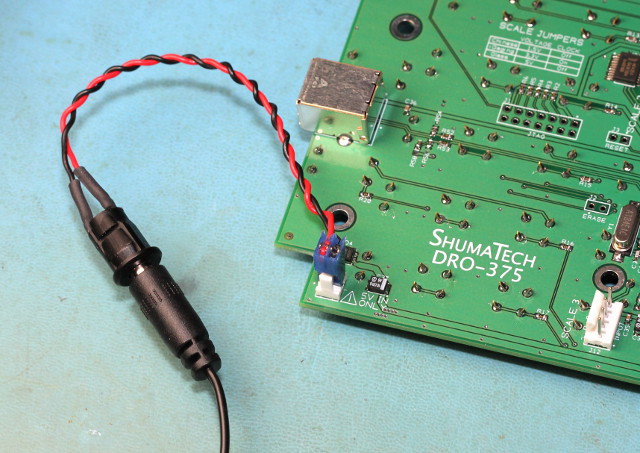
The smoke test is so named because if any of the magic electronic smoke is going to be released, then this is the time. In industry terms, a smoke test is the first time an electronic device is powered on. Retrieve the power supply that you are going to use for the DRO-375. It MUST be a regulated 5V supply and be rated for at least 1.5A. Any other voltage will cause the resettable fuse on the board to engage to protect the circuit. If this happens, then let the board sit for 5 minutes and the fuse will reset itself. Look at the DRO-375 Hardware Manual for more information on power supply requirements. The internal power cable has a female 2.1mm connector on one end and a 2-pin plug on the other. These can either be purchased or made yourself.
Plug the power supply into the internal power cable but leave the AC side UNPLUGGED. Connect the internal power cable onto the J19 header. With the board in front of you, plug the AC into the wall to look and smell for signs of overheating. If you notice any, IMMEDIATELY unplug the AC from the wall and seek assistance. If everything looks (and smells) good, then we can proceed on to programming.