LCD-200 Construction
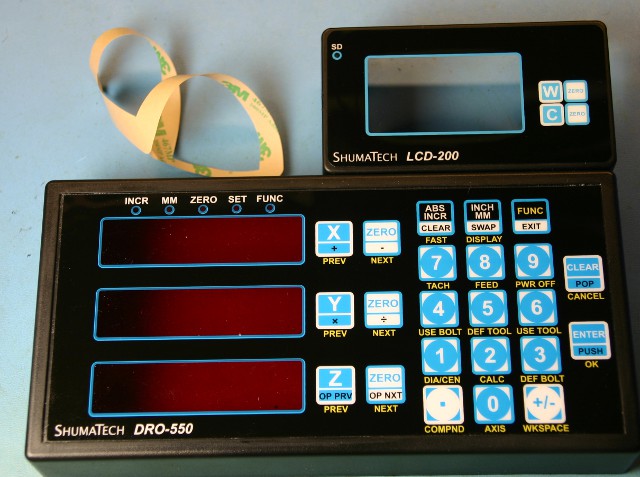
Step 12. Mount on the DRO-550 Case
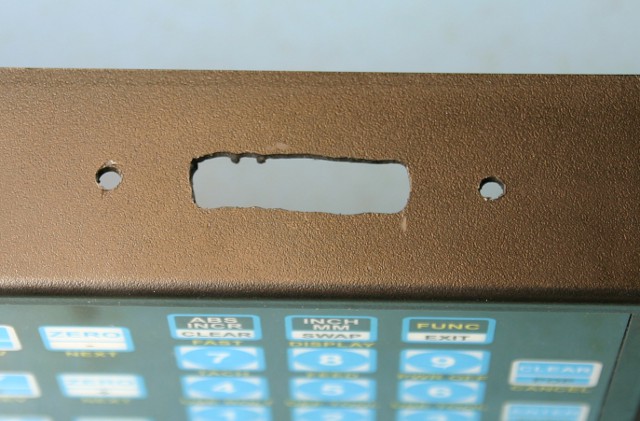
Remove the DRO-550 case front by removing the four screws in the back. Set the DRO-550 board and case back aside. One easy way to modify the case is to use the LCD-200 case as a template and scribe the pattern you machined in step 11 on the top of the DRO-550 case at the position you want the LCD-200 to rest. The author places the LCD-200 to the right flush with the side of the DRO-550 but you can place it wherever you like. Again, a dremel tool is the easiest tool to use to cut the slot. Drill the mounting holes with a hand drill. You can also use the drawing instead of scribing if you find that easier.
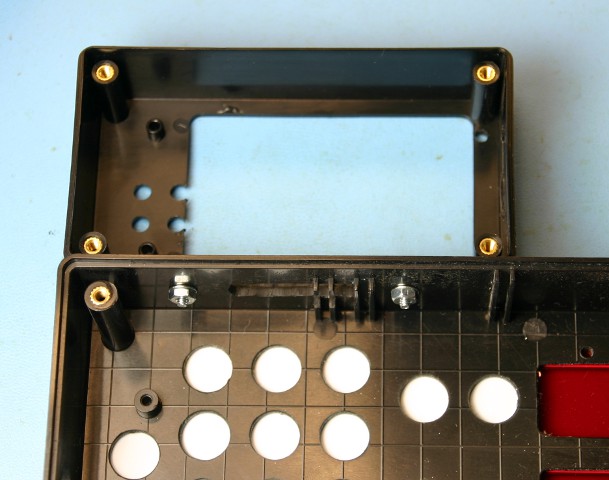 Once you have refined the fit and made sure that the holes and slot line up between the LCD-200 and DRO-550 cases, you can mount the LCD-200 in place. Use two 4-40 x 3/8" pan head screws, two 4-40 washers, and two 4-40 nuts. Poke each screw through the hole from the LCD-200 side and secure it on the DRO-550 side with a washer and nut.
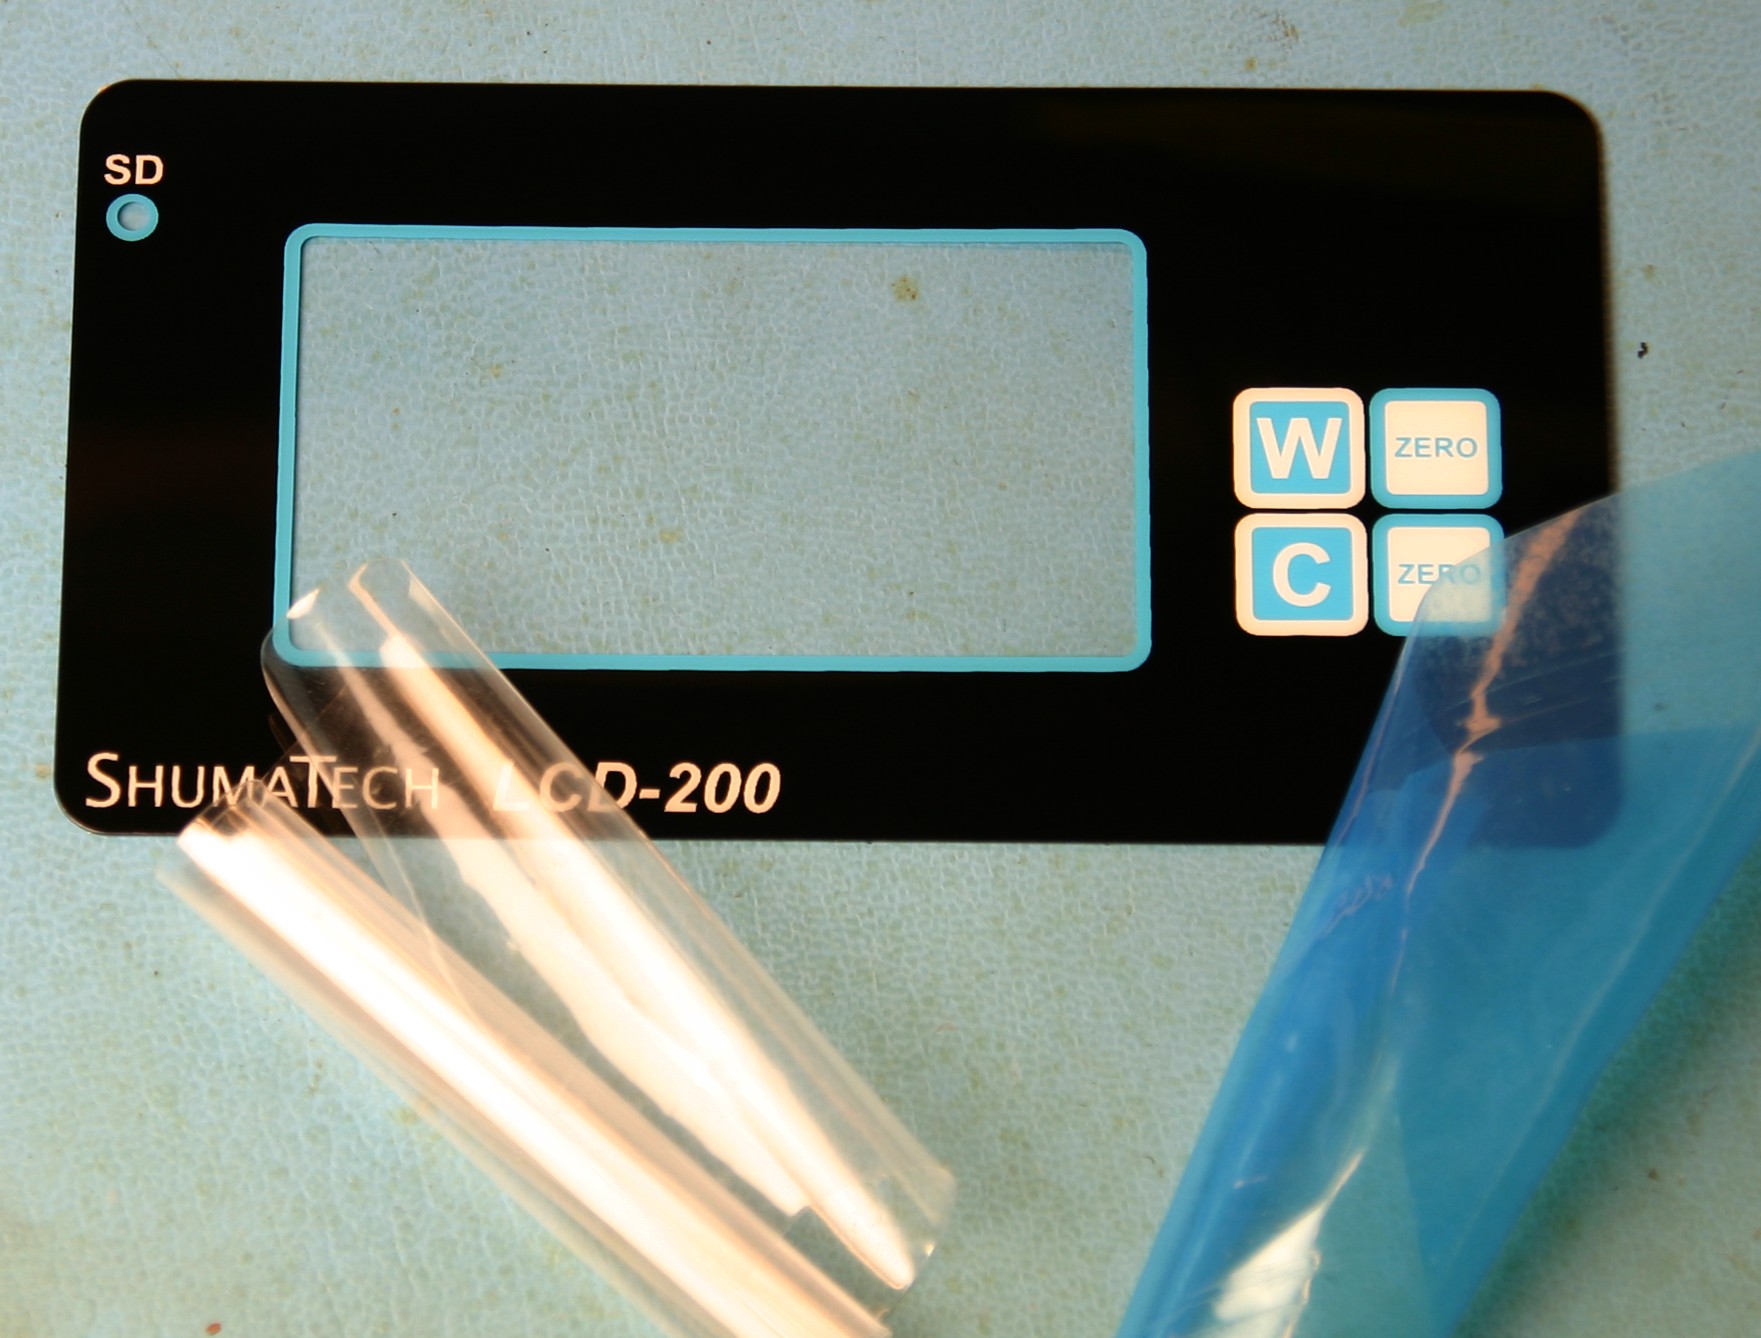 Take the DRO-550 overlay and remove the blue protective film on the back and the transparent film on the front. These protect the overlay from scratches during manufacturing and shipping but they hide the true beauty of the overlay. The overlay is made of Lexan so it is not prone to wear.
 Before sticking the overlay on, do a practice fit so that you can see the proper position of the overlay on the case so that the holes are all lined up. Once you have verified the placement, remove the brown paper and stick the overlay in place. Use a cloth with pressure to rub the front of the overlay to assure a good bond for the adhesive.