LCD-200 Construction
Step 8. Solder the LED
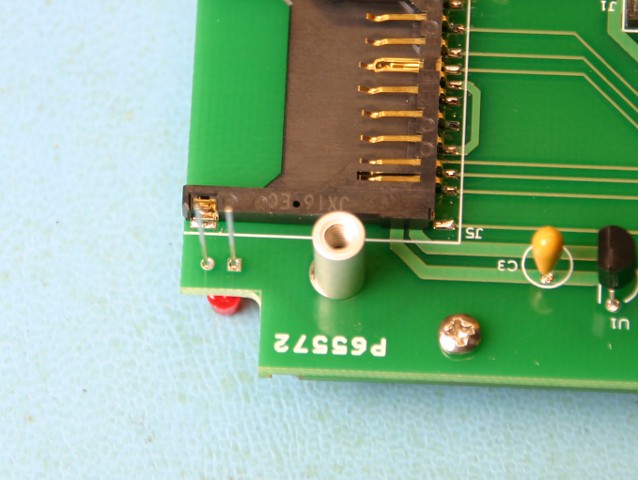
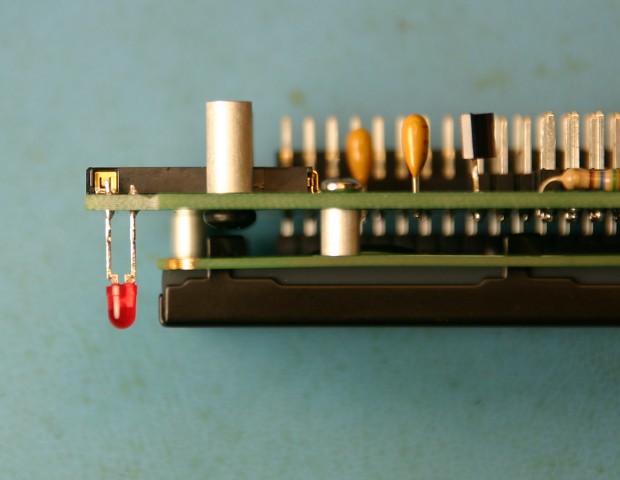
Now that the LCD module is in place, we can solder the LED so that it is flush with the face of the LCD module. Take the LED that was set aside in step 2 and look at the leads. Notice that one lead is shorter than the other. The shorter lead is the cathode of the LED. Insert the LED into position DS1 on the LCD side of the board making sure that the shorter lead is inserted into the square pad with the white dot next to it. Once it is inserted, place the LCD module face down and let the LED slide down so that the top of the LED is flush with the work surface and the front of the LCD. Check from both the front and the side to make sure that the LED is as perpendicular as possible to the board and then solder it in place.