LCD-200 Construction
Step 10. Fabricate the Case Back
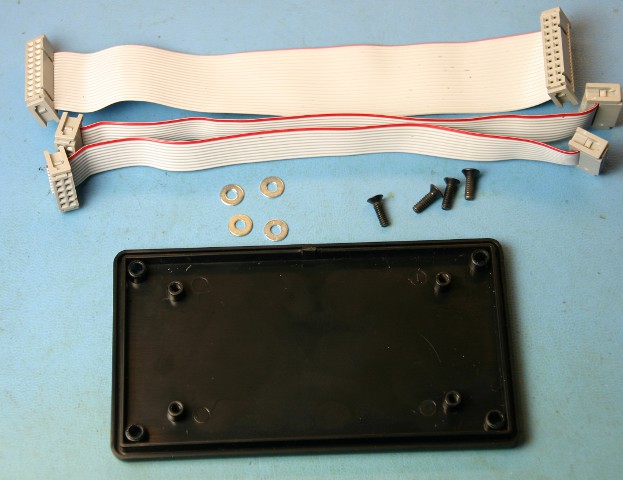
Open the black plastic case and retrieve the case back. Make sure to put the bag of screws inside in a safe place. They are for attaching the case back to the front when we are done. Also grab the ribbon cables, four of the 4-40 washers from parts bag #6 and four of the 4-40 x 3/8" flat head screws from parts bag #5.
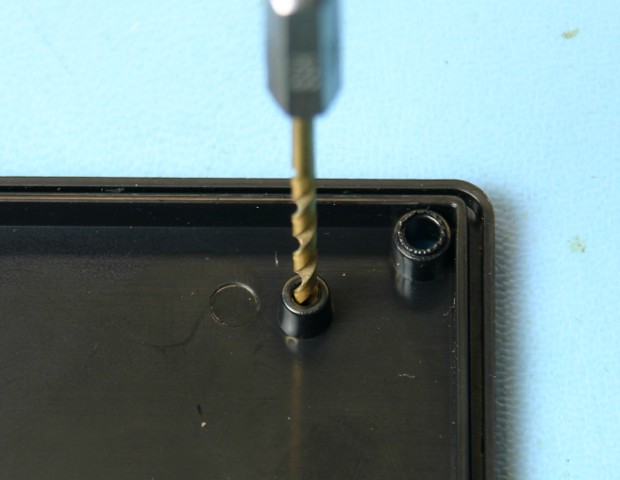
The first step is to drill through the plastic standoffs molded into the case back. You can use a 3/32 or a 7/64 drill bit. Be carefull to drill down the center of the standoffs so that the wall of the standoff doesn't become too thin. Do this for each of the four inside standoffs. The four outside standoffs should be left alone.
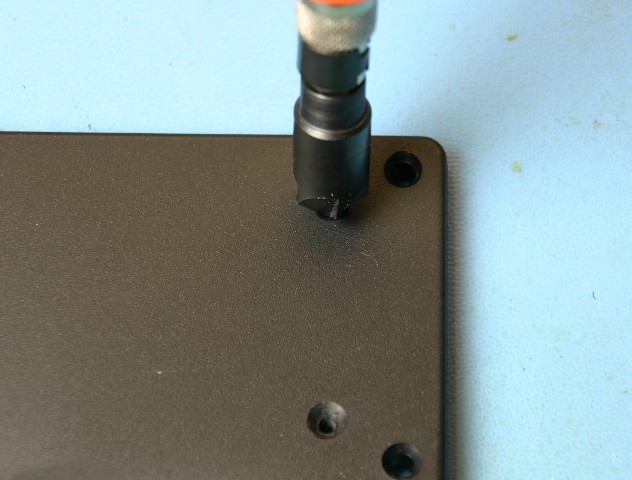
Flip the case back over and get a hand countersink tool. Carefully countersink the holes you just drilled to approximately the same depth as the outside holes that are already countersunk.
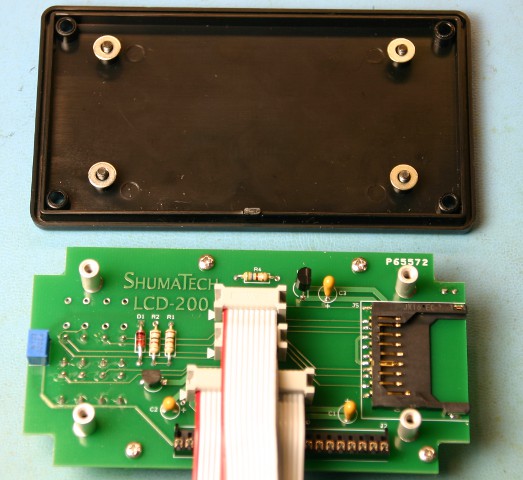
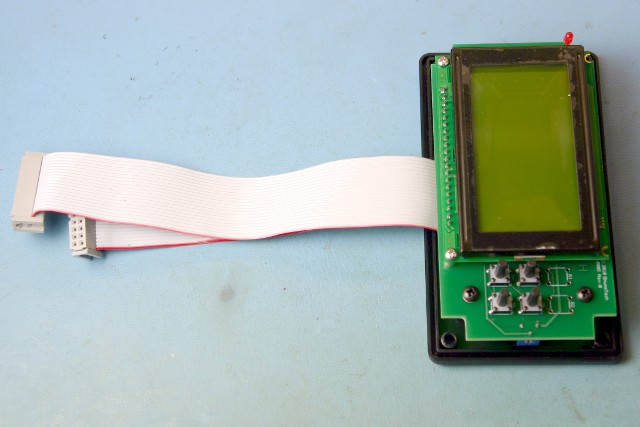
Now we will marry the LCD-200 board to the case back. Plug each ribbon cable into the LCD-200 board starting with the 2x10 pin cable on the LCD BUS header, then the KEYPAD header, and finally the EXP1 header. Be careful to plug each ribbon cable in so that the red side is facing the white arrows on the board silkscreen.
Insert the flat head scews through the countersunk holes. Place one 4-40 washer on top of each standoff with the screw poking through. Place the LCD-200 board on top of the standoffs with its parts side facing the case back. It will take a little dexterity to hold it and flip it over without losing the screws or washers. Alternatively, you can hold the two together and insert each screw and washer individually. Do whatever works for you.